
If you haven't already, please read Integrate GetBusy with other apps using Zapier before you continue.
Here's a simple integration to set up if you'd like to get familiar with the GetBusy Zapier Integration before you start automating your real processes...
We'll create the following simple Zap:
- Trigger - When a new row is added to a simple contact list in Google Sheets.
- Action - Add a new connection in GetBusy (if it doesn't already exist) and create a Note with them.
Create a contact list
- Using a Google Account, open Google Sheets.
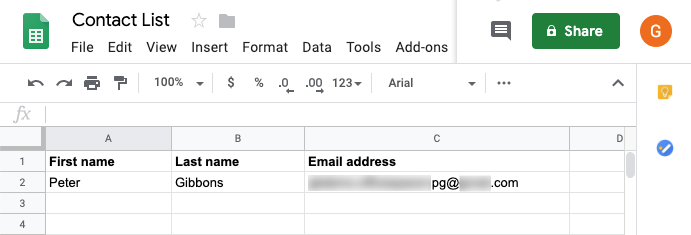
- Create a Google Sheet called 'Contact List' and add column headers for 'First name', 'Last name' and 'Email address'.
- Add a new row for a test contact. To test it properly, you'll need to add an email address that exists and that you can access / control.
Now that you've added a new row with the details required to create a GetBusy Connection, you can create your Zap.
Create a zap
- Sign in to your Zapier Account and click the 'Make a Zap!' button.
- Name your zap 'Create GetBusy Welcome Notes for New Google Sheets Contacts'.
Configure a trigger
- Choose 'Google Sheets' as the Trigger App.
- Choose 'New Spreadsheet Row' as the trigger and click 'Save + Continue'.
- Follow the Zapier prompts to sign in to Google and 'Test' the account connection before clicking 'Save + Continue'. Signing in may happen automatically if you are already signed in to Google.
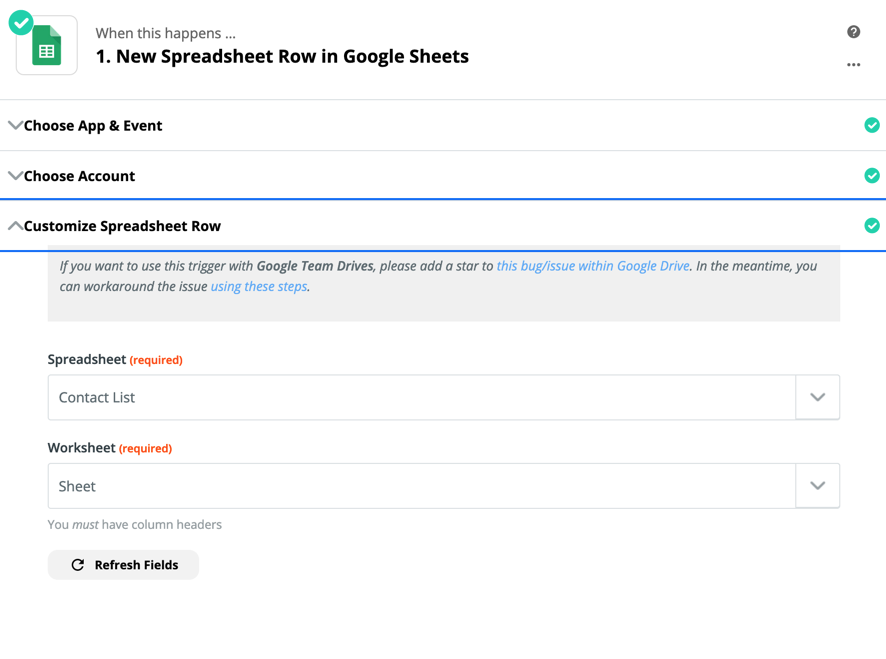
- Choose the 'Contact List' Spreadsheet followed by the 'Sheet' Worksheet (assuming you have not changed the default name of the worksheet) then click 'Continue'.
- Zapier will then take a second or two to get some row data from the Contact List spreadsheet.
- Assuming everything has gone to plan, a single sample row will appear in Zapier and be labelled as 'Spreadsheet Row A' (or similar). Expand the sample to check it contains the details of your contact.
Configure an action
- 'Add a step' to your zap and click 'Action/Search'.
- Search for 'GetBusy' in the list of available apps and select it.
- Select 'Create a Note' as the GetBusy Action
- Follow the Zapier prompts to sign in to GetBusy and 'Test' the account connection before clicking 'Save + Continue'. Signing in may happen automatically if you are already signed in to GetBusy.
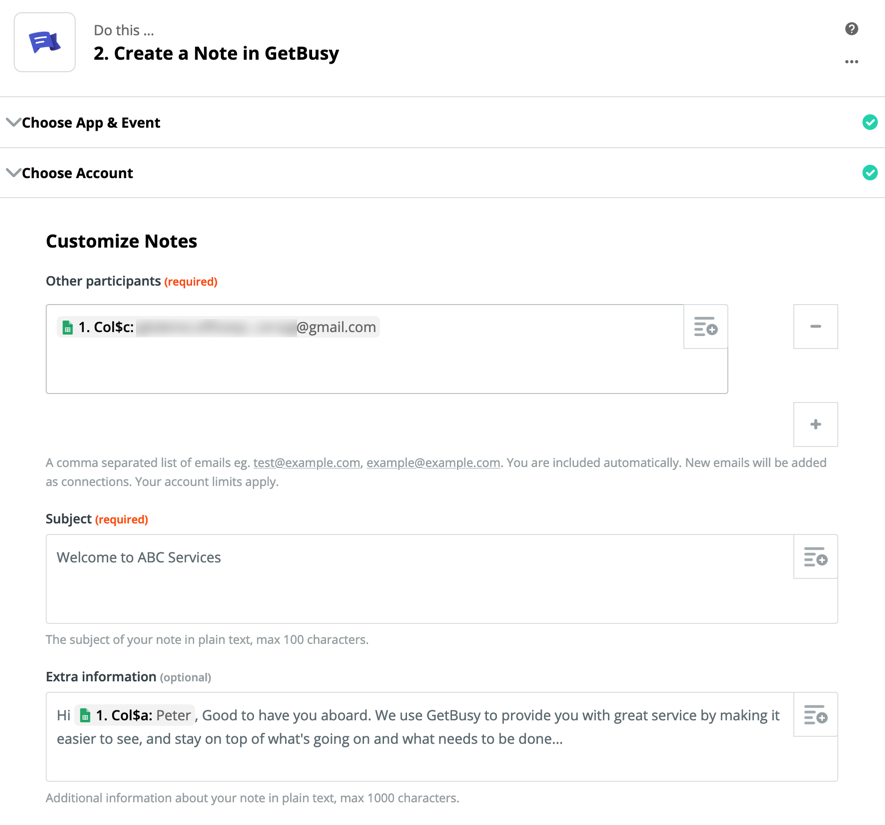
- In the 'Customize Notes' screen, perform the following steps:
- Other participants: Add the email addresses of the people you want involved, separated with commas
- Subject: Type a title of your choosing e.g. 'Welcome to ABC Services'
- Extra information: Type a comment of your choosing e.g. 'Hi, Good to have you aboard. We use GetBusy to provide you with great service by making it easier to see, and stay on top of what's going on and what needs to be done...'
- Attachment: A file object passed from another service or fetched from a public URL
- Filename: An optional name for the file you're attaching (if you don't like the one it's already got)
- Tag: Choose private tags from GetBusy to help you stay organized
- Click 'Continue'.
Tip: You can use the 'Insert a field' button to use data collected in previous Zapier steps, like the email address of the new contact
Test your zap
- Click 'Send Test to GetBusy'.
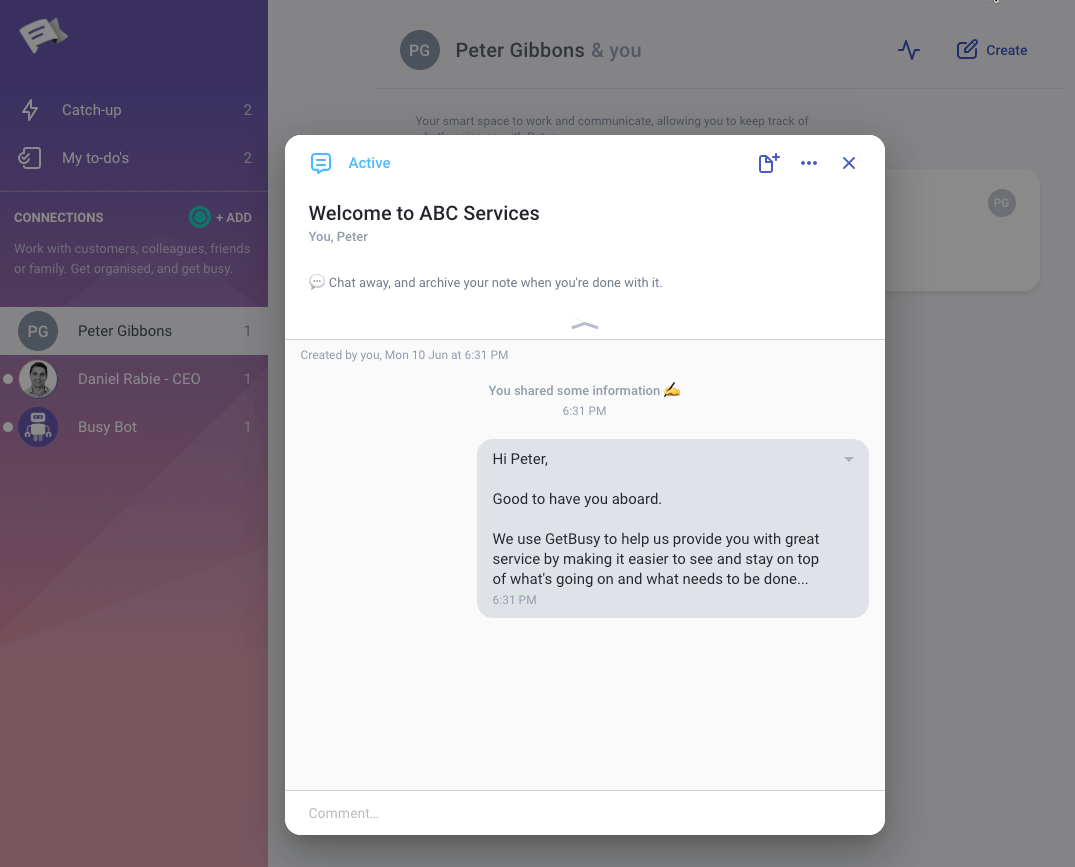
The test will use the data in the sample row to add a Connection in GetBusy (if it doesn't already exist) and create a GetBusy Note using the title and comment that you have specified.
Turn on your zap
Once your test has been successful:
- Click the 'Finish' button.
- Turn your zap on when asked if you are 'Ready to turn on your Zap?'.
From now on, any new row added to the Contact List spreadsheet in Google Sheets will create a new connection in GetBusy using the value in the First name, Last name and Email address columns. A Note will be created and sent to the connection using the title and comment you have specified in the zap.
Need help?
We're happy to help if your struggling...please contact us using the Feedback option in the GetBusy Settings menu to let us know what's up and we'll do our best to get you pointed in the right direction.
Comments
0 comments
Article is closed for comments.